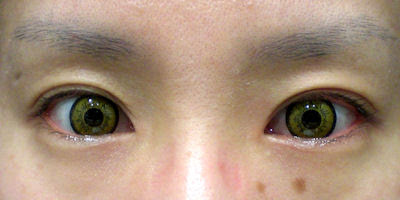
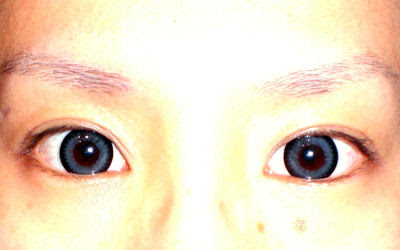
 Since getting my Max Pure Grey lenses, I had wanted to see how they looked with makeup. Originally I wanted to do a look inspired by Emily the Strange, but I went overboard with the eyeshadow and ended up looking like the ghost from Ju-on. =___= Actually, I think the makeup itself looks quite nice, it just didn't turn out the way I wanted it. I think my eyes also look freakishly huge with the lenses and makeup on.
What I used for this look:
- Too Faced Shadow Insurance eyelid primer
- Black, gunmetal and silver eyeshadow
- Black eyeliner pencil
- Black mascara
- Concealer (as lip color)
 For heavy looks like smoky eyes, put on your eye makeup BEFORE your foundation; that way you can clean up the fallouts on top of your cheeks easily and keep your face looking clean. Put the eyelid primer all over your lids and along your bottom lashline. (Man these contacts are truly HUGE)
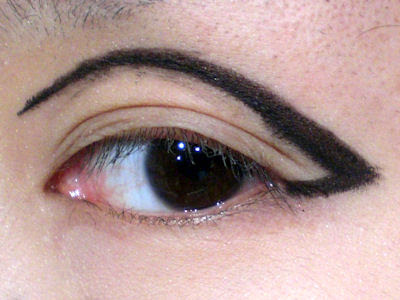
 Put on black eyeliner thickly all around your eye, leaving a gap at the middle of your lower lashline. Wing the eyeliner slightly at the outer corner.
 You don't need to be too neat when you apply the eyeliner, since we are blending it out later.
 Go over the eyeliner with black eyeshadow, applying the shadow all over your eyelids up to slightly above your crease. Make the shadow slightly winged at the outer corner.
 Hmm, seems that my "black" eyeshadow actually has some blue in it, guess I should get another one! :p
 Apply the gunmetal eyeshadow starting from right above your crease, blending with the black eyeshadow, to just below your browbone. Also wing the shadow up and out at the outer corner.
 Lift your eyelids slightly and color in your waterline with your black liner pencil. If you are uncomfortable with this, you can skip it; it just gives better depth to my eyes and elimilates the flesh-colored line between my eyeshadow and my contacts when I open my eyes wide.
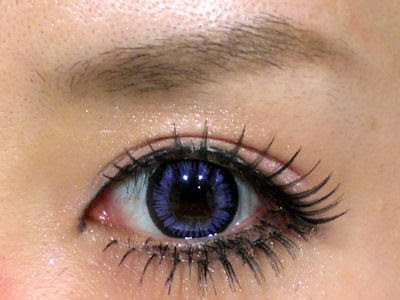
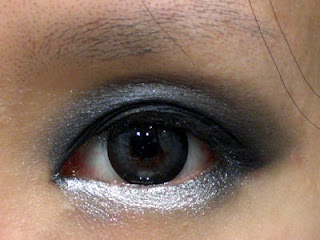 Finally, put the silver eyeshadow on the middle of your lower lashline, blending it a bit into the black at both ends. Put on a couple coat of mascara.
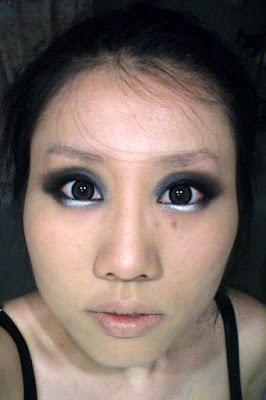 I skipped coloring in my brows because it would be covered with the wig; concealer was put on my lips to make them nude-colored. On goes the wig, and I am done!
 The look didn't really turn out very Emily-esque, and the silver also makes it look like I am squinting all the time.
 The gunmetal eyeshadow is from the NYX palette "Ceramics". The other two colors are a dark grey with small glitter and a black with larger glitter, both of which isn't too exciting. However, I think the gunmetal shade is quite lovely indeed. :)
 The circle lenses looks perfect for this look, and proves that with such large lenses, you just have to wear heavy makeup in order to avoid looking like an alien. OK I still look freaky but at least my eyeballs are more in proportion with the rest of my face! XD
 Thanks for reading this goth-tastic tutorial, I will try to do a more colorful look next time!


